violateraindrop (![[personal profile]](https://www.dreamwidth.org/img/silk/identity/user.png) violateraindrop) wrote2008-05-29 04:56 pm
violateraindrop) wrote2008-05-29 04:56 pm
Entry tags:
Tutorial #01
I'm back! After one week without a computer. The only thing I can say is that I did a lot of work for school and a lot of housework :D
This is my first tutorial ever (requested bymiss_noodles ).
Going from to
to 
Made with Photoshop, includes Selective Coloring.
This is my first tutorial ever (requested by
Going from
to Made with Photoshop, includes Selective Coloring.
Step 1
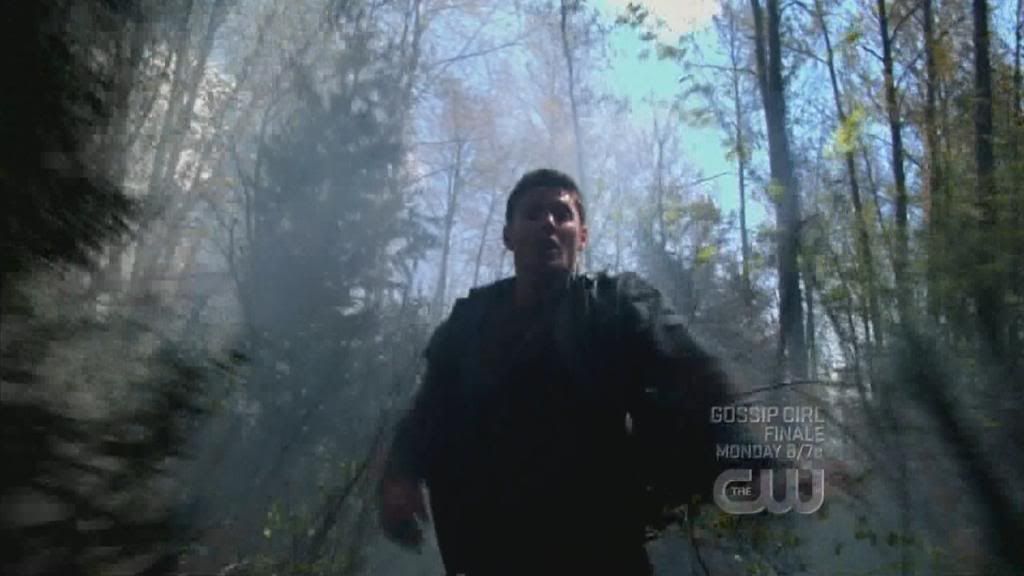
Take your picture crop/resize etc. I choose this cap (byoxoniensis ).
Step 2
Add a color fill layer (#C9E6FF) and set it to Soft Light at 20% opacity.
 ->
-> 
Step 3
Add a color fill layer (#FFC9F8) and set it to Soft Light at 50% opacity.
 ->
-> 
Step 4
Add a Hue/Saturation layer with the following settings:
Hue: 0
Saturation: +40

Step 5
Add a Selective Coloring layer with the following settings:
Reds: -28 / +6 / +34 / +14
Yellows: +5 / +5 / -16 / +8
Whites: -21 / -14 / -4 / +17
Neutrals: -5 / +1 / +3 / -2

Step 6
Duplicate your base, bring it on top, desaturate it and set it to Soft Light at 100% opacity.

Step 7
Select everything, press Ctrl+Shift+C and paste it on top of the other layers. Now set this layer to Screen at 100% opacity and erase everything except the face.

Step 8
Again, select everything, press Ctrl+Shift+C and paste it on top of the other layers (I prefer to have the base and everything else under the layer in case I need it again :D).
Use the Smudge Tool with a soft round brush (diameter: around 20px) around the subject of your icon.

Step 9
Duplicate the layer from Step 8, set it to Screen at 30% opacity and erase everything except the face again.

Step 10
Take this texture (bybambinainnero ) and rotate it. Now set it to Overlay at 70% opacity and erase the part above your subject.
 ->
-> 
Step 11
Take the texture from the previous step and set it to Lighten at 70% opacity. Erase everything except the little part at the bottom.
 ->
-> 
Step 12
Take this texture (by_iconographer ) and set it to Multiply at 70% opacity. Erase the part that covers your subject and your done!
 ->
->
I hope I explained everything right, because my version is in German :D
Feel free to ask questions and I'd love to see your results!
Take your picture crop/resize etc. I choose this cap (by
Step 2
Add a color fill layer (#C9E6FF) and set it to Soft Light at 20% opacity.
-> Step 3
Add a color fill layer (#FFC9F8) and set it to Soft Light at 50% opacity.
-> Step 4
Add a Hue/Saturation layer with the following settings:
Hue: 0
Saturation: +40
Step 5
Add a Selective Coloring layer with the following settings:
Reds: -28 / +6 / +34 / +14
Yellows: +5 / +5 / -16 / +8
Whites: -21 / -14 / -4 / +17
Neutrals: -5 / +1 / +3 / -2
Step 6
Duplicate your base, bring it on top, desaturate it and set it to Soft Light at 100% opacity.
Step 7
Select everything, press Ctrl+Shift+C and paste it on top of the other layers. Now set this layer to Screen at 100% opacity and erase everything except the face.
Step 8
Again, select everything, press Ctrl+Shift+C and paste it on top of the other layers (I prefer to have the base and everything else under the layer in case I need it again :D).
Use the Smudge Tool with a soft round brush (diameter: around 20px) around the subject of your icon.
Step 9
Duplicate the layer from Step 8, set it to Screen at 30% opacity and erase everything except the face again.
Step 10
Take this texture (by
 ->
-> Step 11
Take the texture from the previous step and set it to Lighten at 70% opacity. Erase everything except the little part at the bottom.
-> Step 12
Take this texture (by
 ->
-> I hope I explained everything right, because my version is in German :D
Feel free to ask questions and I'd love to see your results!
no subject
Memming and trying out later.
no subject
no subject
no subject
no subject
no subject
no subject
no subject
And thank you very much ;)