violateraindrop (![[personal profile]](https://www.dreamwidth.org/img/silk/identity/user.png) violateraindrop) wrote2008-05-29 04:56 pm
violateraindrop) wrote2008-05-29 04:56 pm
Entry tags:
Tutorial #01
I'm back! After one week without a computer. The only thing I can say is that I did a lot of work for school and a lot of housework :D
This is my first tutorial ever (requested bymiss_noodles ).
Going from to
to 
Made with Photoshop, includes Selective Coloring.
This is my first tutorial ever (requested by
Going from
to Made with Photoshop, includes Selective Coloring.
Step 1
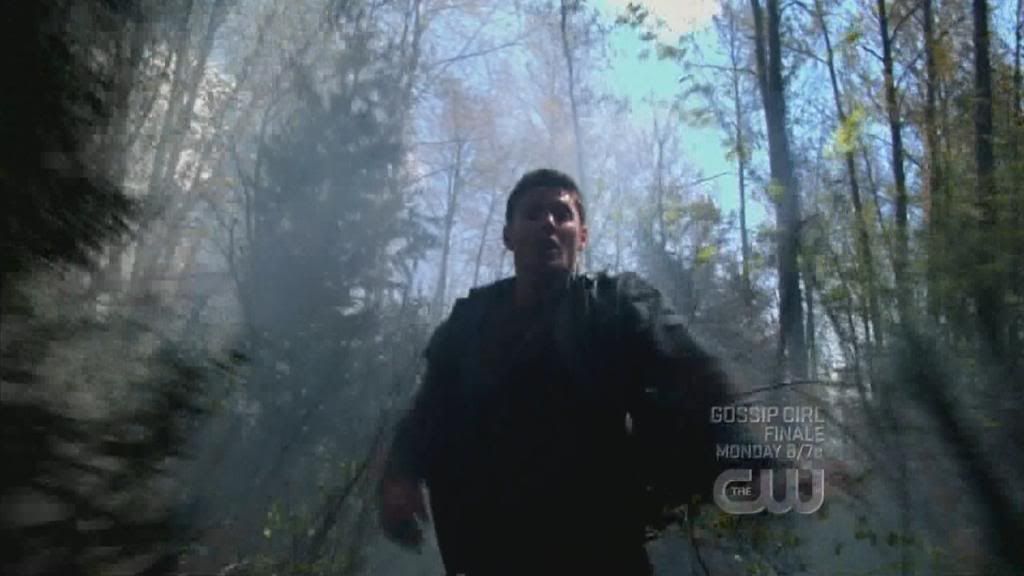
Take your picture crop/resize etc. I choose this cap (byoxoniensis ).
Step 2
Add a color fill layer (#C9E6FF) and set it to Soft Light at 20% opacity.
 ->
-> 
Step 3
Add a color fill layer (#FFC9F8) and set it to Soft Light at 50% opacity.
 ->
-> 
Step 4
Add a Hue/Saturation layer with the following settings:
Hue: 0
Saturation: +40

Step 5
Add a Selective Coloring layer with the following settings:
Reds: -28 / +6 / +34 / +14
Yellows: +5 / +5 / -16 / +8
Whites: -21 / -14 / -4 / +17
Neutrals: -5 / +1 / +3 / -2

Step 6
Duplicate your base, bring it on top, desaturate it and set it to Soft Light at 100% opacity.

Step 7
Select everything, press Ctrl+Shift+C and paste it on top of the other layers. Now set this layer to Screen at 100% opacity and erase everything except the face.

Step 8
Again, select everything, press Ctrl+Shift+C and paste it on top of the other layers (I prefer to have the base and everything else under the layer in case I need it again :D).
Use the Smudge Tool with a soft round brush (diameter: around 20px) around the subject of your icon.

Step 9
Duplicate the layer from Step 8, set it to Screen at 30% opacity and erase everything except the face again.

Step 10
Take this texture (bybambinainnero ) and rotate it. Now set it to Overlay at 70% opacity and erase the part above your subject.
 ->
-> 
Step 11
Take the texture from the previous step and set it to Lighten at 70% opacity. Erase everything except the little part at the bottom.
 ->
-> 
Step 12
Take this texture (by_iconographer ) and set it to Multiply at 70% opacity. Erase the part that covers your subject and your done!
 ->
->
I hope I explained everything right, because my version is in German :D
Feel free to ask questions and I'd love to see your results!
Take your picture crop/resize etc. I choose this cap (by
Step 2
Add a color fill layer (#C9E6FF) and set it to Soft Light at 20% opacity.
-> Step 3
Add a color fill layer (#FFC9F8) and set it to Soft Light at 50% opacity.
-> Step 4
Add a Hue/Saturation layer with the following settings:
Hue: 0
Saturation: +40
Step 5
Add a Selective Coloring layer with the following settings:
Reds: -28 / +6 / +34 / +14
Yellows: +5 / +5 / -16 / +8
Whites: -21 / -14 / -4 / +17
Neutrals: -5 / +1 / +3 / -2
Step 6
Duplicate your base, bring it on top, desaturate it and set it to Soft Light at 100% opacity.
Step 7
Select everything, press Ctrl+Shift+C and paste it on top of the other layers. Now set this layer to Screen at 100% opacity and erase everything except the face.
Step 8
Again, select everything, press Ctrl+Shift+C and paste it on top of the other layers (I prefer to have the base and everything else under the layer in case I need it again :D).
Use the Smudge Tool with a soft round brush (diameter: around 20px) around the subject of your icon.
Step 9
Duplicate the layer from Step 8, set it to Screen at 30% opacity and erase everything except the face again.
Step 10
Take this texture (by
 ->
-> Step 11
Take the texture from the previous step and set it to Lighten at 70% opacity. Erase everything except the little part at the bottom.
-> Step 12
Take this texture (by
 ->
-> I hope I explained everything right, because my version is in German :D
Feel free to ask questions and I'd love to see your results!
no subject
And thank you very much ;)